Follow Me On Social Media!
Rustic Cherry Danish Pastries: Indulgent Bliss at Home
Introduction to Rustic Cherry Danish Pastries
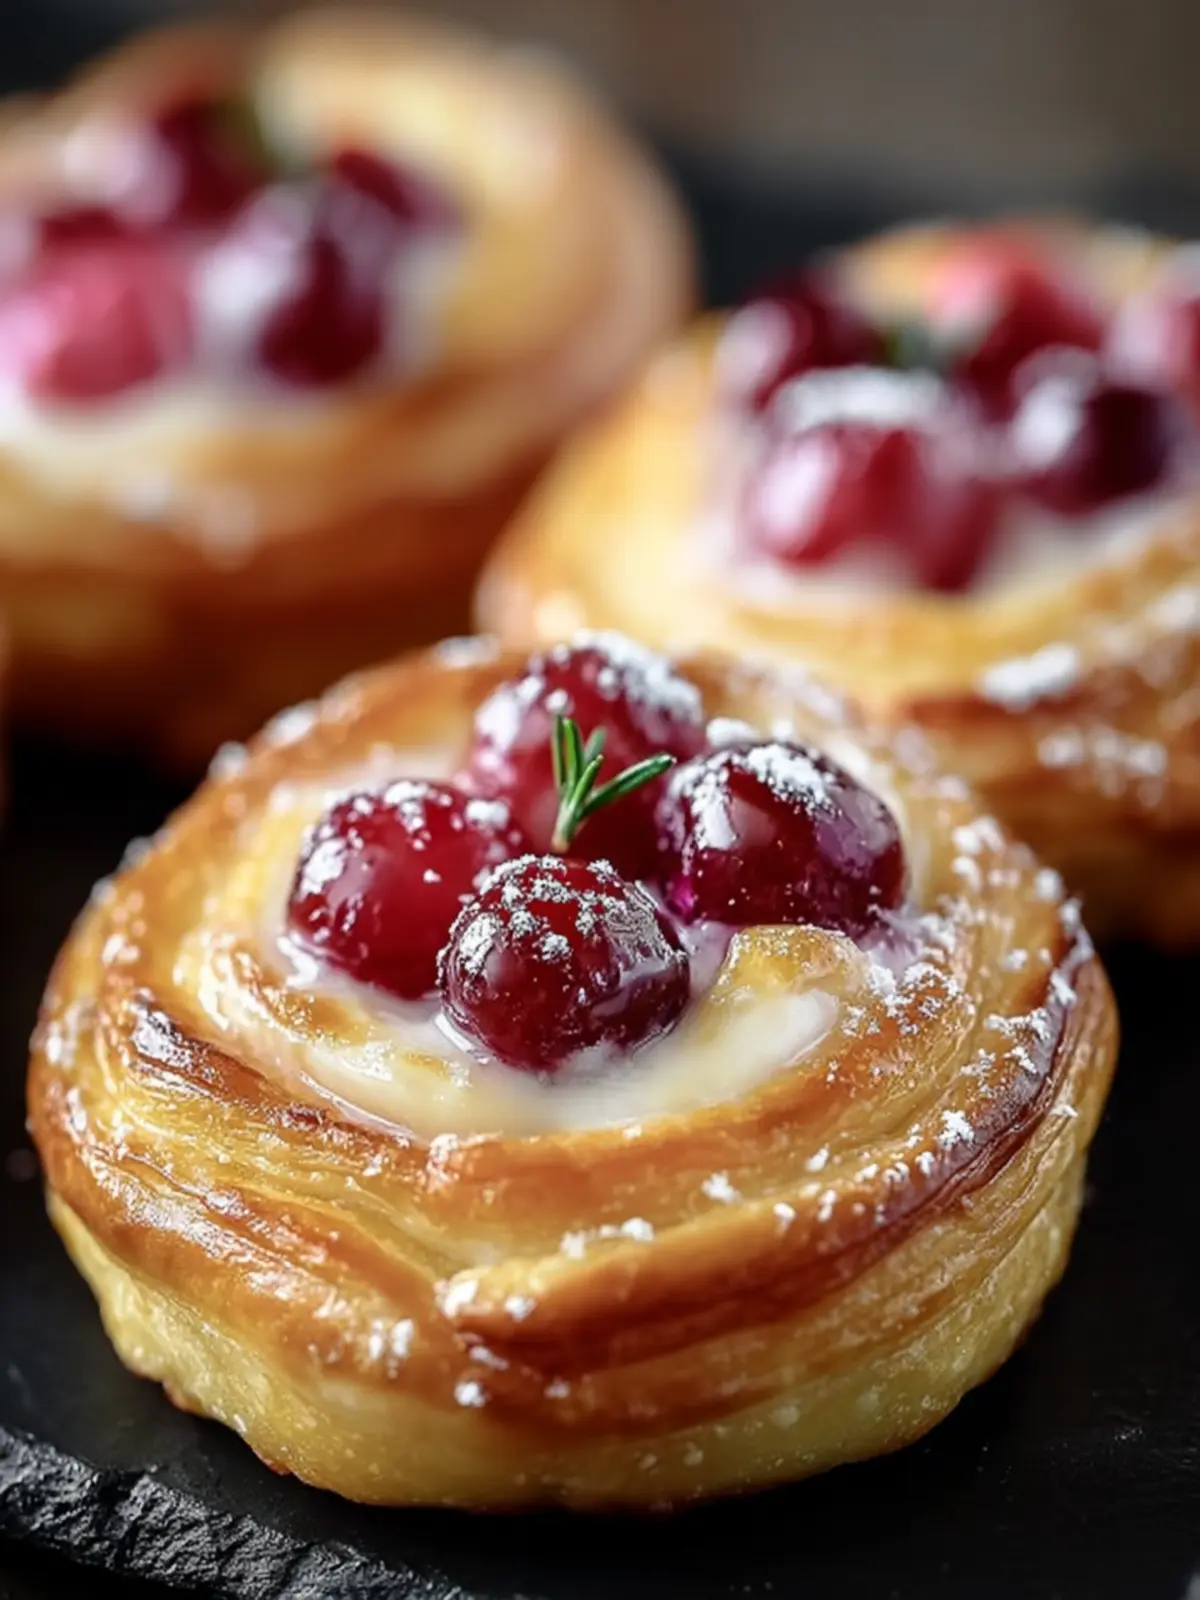
Imagine standing in your kitchen, enveloped by the warm, sweet aroma of baking pastries that transport you back to a quaint European café. Rustic cherry Danish pastries are not just a treat; they’re a delightful experience, perfectly combining flaky pastry and juicy cherry filling. These pastries evoke feelings of nostalgia and comfort, inviting you to savor every bite as you reminisce about leisurely mornings spent with loved ones over coffee and sweets.
What makes rustic cherry Danish pastries irresistible? It’s the remarkable harmony of flavors and textures. The golden-brown layers of dough, enriched with butter, create a crispy yet tender exterior that gives way to a luscious filling of sweet cherries, often adorned with a hint of almond or vanilla. As you take a bite, the juicy cherries burst forth, balancing the crispness of the pastry and leaving you craving more. Whether enjoyed as a decadent breakfast or a delightful afternoon snack, these pastries are simply hard to resist.
Making these pastries from scratch might sound daunting, but don’t worry! The process is straightforward and rewarding. The dough, made from a blend of flour, butter, and a touch of sugar, is rolled, folded, and chilled before being filled with luscious cherries. Don’t forget that the contrast of the warm pastry with the cool, creamy glaze drizzled on top creates a mouthwatering combination that will have your friends and family raving about your baking prowess.
When you decide to tackle this recipe, keep these points in mind:
- Use fresh, pitted cherries for the best flavor; they add a vibrant, natural sweetness that canned cherries just can’t match.
- Don’t skip on the butter! It’s the key to achieving that flaky texture we all love in a Danish pastry.
- While the preparation involves multiple steps, the payoff is undoubtedly worth it.
So, roll up your sleeves and get ready to treat yourself and your loved ones to a batch of rustic cherry Danish pastries that will inspire joyful conversations and unforgettable memories!
Key Ingredients for Rustic Cherry Danish Pastries
Creating rustic cherry danish pastries is an experience that brings together the charm of homemade baking with the delightful flavors of fresh cherries. Here’s what you’ll need to craft these treats:
-
Fresh Cherries: Using ripe, sweet cherries is essential for the best flavor. Their natural tartness perfectly balances the buttery richness of the pastry. If cherries aren’t in season, frozen cherries can be a great alternative—just ensure to thaw and drain them properly.
-
Puff Pastry: I recommend using high-quality store-bought puff pastry for a flaky and airy texture. Homemade can be fantastic, but sometimes convenience wins! Thaw it in the fridge before working with it for a more manageable dough.
-
Cream Cheese: This adds a rich and creamy layer that complements the cherries beautifully. Softening it before mixing ensures a smooth consistency without any lumps.
-
Sugar: Granulated sugar sweetens the filling, while a sprinkle of powdered sugar adds an elegant finish once the pastries are baked and cooled.
-
Vanilla Extract: Just a splash of pure vanilla extract elevates the flavor profile. It adds warmth and depth that enhances the overall taste of these pastries.
-
Lemon Zest: A hint of lemon zest provides a refreshing brightness, harmonizing with the cherries and balancing the richness of the pastry.
With these key ingredients, your journey to creating delectable rustic cherry danish pastries is well on its way!
Why You’ll Love Rustic Cherry Danish Pastries
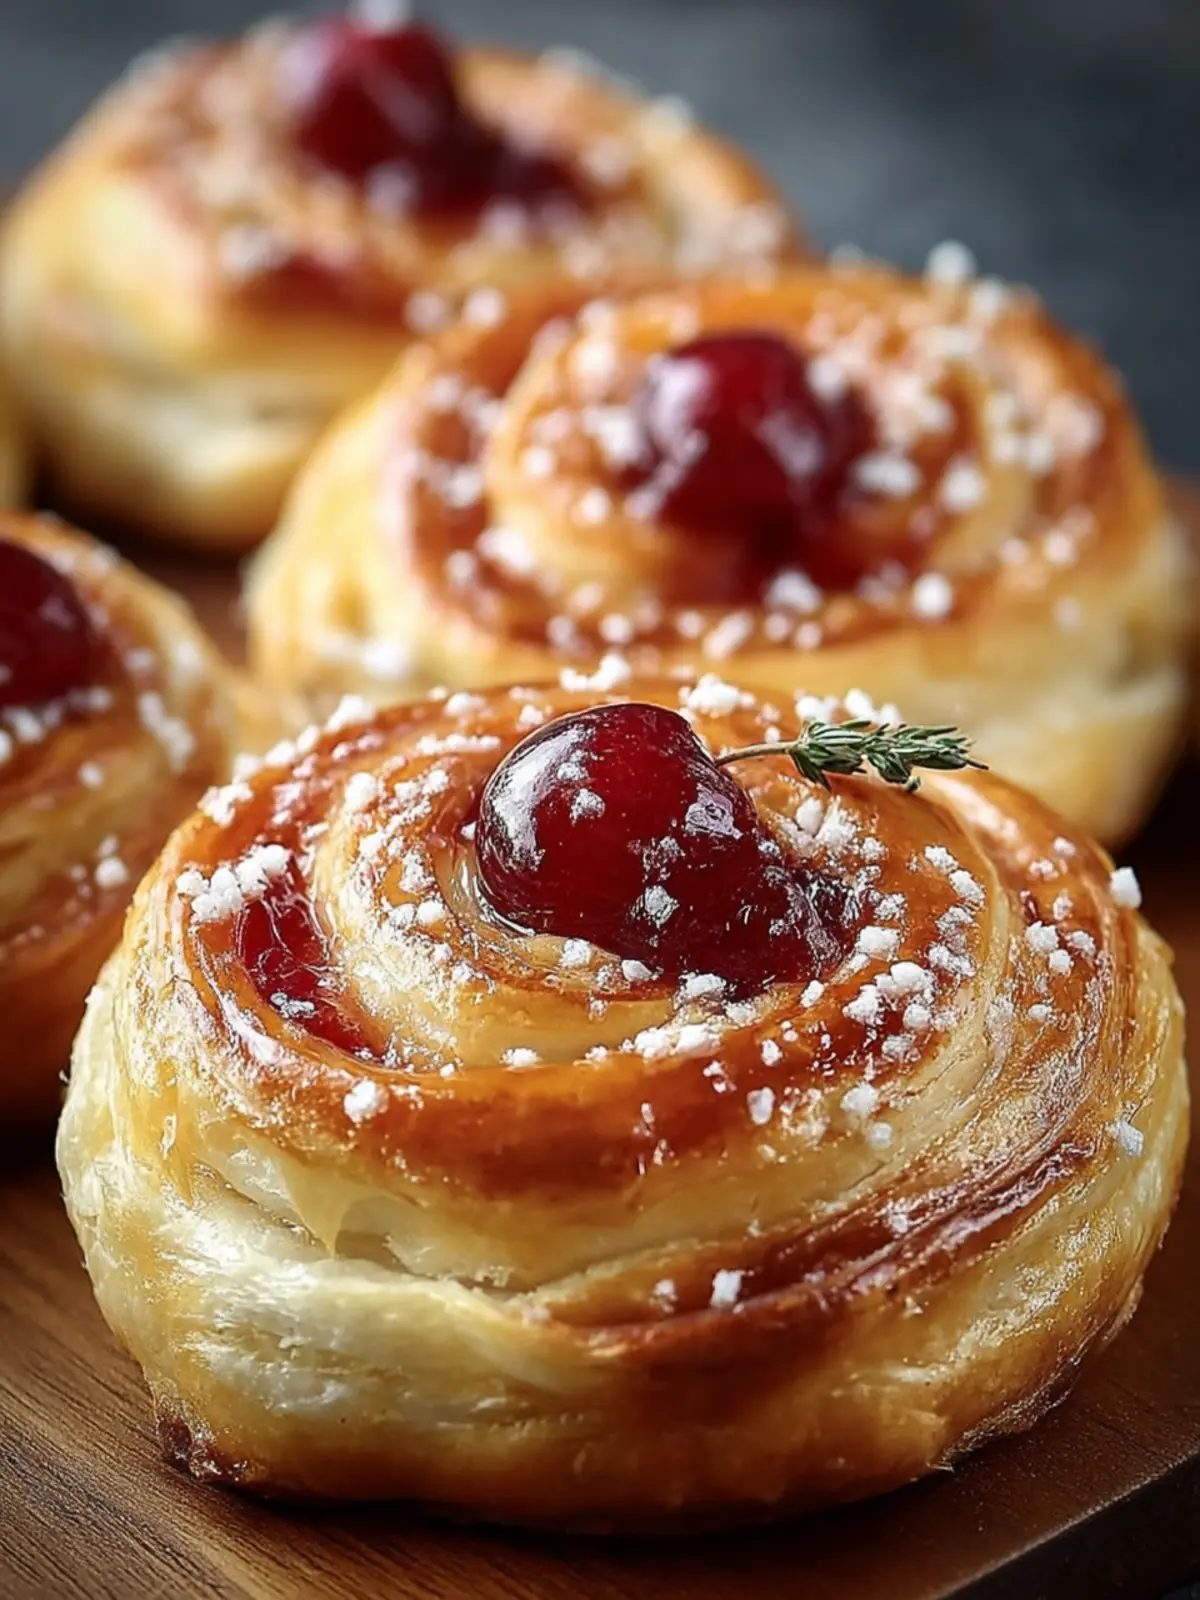
At the heart of every Rustic Cherry Danish Pastry is a delightful story—a tale of flaky pastry, vibrant cherries, and an undeniable sense of comfort. These pastries are more than just a treat; they are an experience. Imagine pulling a warm, golden pastry fresh from the oven and taking that first bite. The soft, buttery dough gives way to a luscious cherry filling that bursts with flavor.
Here’s why they’ll become a staple in your baking repertoire:
-
Versatile Flavor: The combination of sweet and tart cherries paired with buttery pastry creates a symphony of flavors that pleases every palate. You can even try different fruits as a fun twist!
-
Perfect for Any Occasion: Whether it’s a brunch gathering, a cozy afternoon tea, or a simple dessert, these pastries always impress. They can elevate even the most casual get-together into something special.
-
Baking Therapy: There’s something incredibly satisfying about creating these pastries from scratch. Your kitchen will fill with delicious aromas, making the effort worthwhile.
-
Shareable Delight: Bring these treats to work or a friend’s house, and watch as everyone gathers around to savor each flaky bite. It’s hard not to smile when enjoying such a delightful pastry!
In short, your journey with Rustic Cherry Danish Pastries will not only satisfy your sweet tooth but also create cherished memories along the way. So, roll up your sleeves and dive into this delightful baking adventure!
Variations of Rustic Cherry Danish Pastries
Rustic cherry Danish pastries are not just a delightful treat; they offer endless possibilities for creativity and personal flair. If you’re ready to take the classic recipe to new heights, consider these exciting variations.
Fruity Medley
Why limit yourself to cherries? Mix and match with other fruits like blueberries, raspberries, or even peaches for a twist on the traditional filling. Each fruit brings its unique flavor, providing a delightful surprise in every bite.
Nutty Delight
Adding nuts like sliced almonds or chopped walnuts enhances the texture of your rustic cherry Danish pastries. They provide a satisfying crunch that beautifully complements the buttery pastry and sweet cherries.
Cream Cheese Swirl
For a richer filling, blend cream cheese with your cherries. The result is a creamy, tangy layer that balances perfectly with the sweet and tart cherry flavor. This added richness transforms each pastry into a mini dessert experience.
Spiced Perfection
Consider infusing your pastry with spices such as cinnamon, nutmeg, or even a hint of cardamom. Just a sprinkle can elevate the flavor profile, giving your rustic cherry Danish pastries an intriguing warmth and depth.
Chocolate Lovers Option
If you and your guests are chocolate enthusiasts, why not fold in some dark chocolate chips or drizzle melted chocolate over the finished pastries? It adds a decadent touch, combining sweet and tart elements into an irresistible treat.
Experimenting with these variations makes your rustic cherry Danish pastries not only delicious but also an expression of your culinary creativity. So, which variation will you try first?
Tips for Making Perfect Rustic Cherry Danish Pastries
Creating rustic cherry Danish pastries is an art that combines patience, technique, and a sprinkle of love. With a few handy tips, you can elevate your pastry game to impress friends and family.
Choose Quality Ingredients
- Cherries: Fresh cherries can take your pastries to the next level. Their natural sweetness and tartness create a perfect balance, but frozen cherries work well too; just make sure to drain excess juice.
- Butter: Opt for high-quality unsalted butter. It’s crucial for achieving that flaky pastry texture. Be sure to keep the butter cold while working with the dough.
- Flour: Use all-purpose flour for a sturdy yet tender structure. If you prefer a lighter texture, consider a pastry flour blend.
Master the Dough
Creating the ideal dough is essential for your rustic cherry Danish pastries. Remember to avoid overworking it; you want to keep that flaky texture. Always chill the dough before rolling it out to maintain that beautiful lift during baking.
Fruit Filling Perfection
For the cherry filling, combine fresh or frozen cherries with a bit of sugar, cornstarch, and lemon juice. This not only enhances the flavor but also thickens the mixture, preventing a soggy pastry.
Bake with Care
Baking at the right temperature is key. A hot oven initially helps the pastries rise well, creating that flaky goodness. Keep an eye on them as they bake; they should be golden brown and fragrant.
By following these tips, you’ll create rustic cherry Danish pastries that not only look stunning but taste incredible!
Serving Suggestions for Rustic Cherry Danish Pastries
Rustic cherry danish pastries are delightful treats that can shine during any meal or gathering. Their delicious balance of flaky pastry and sweet cherry filling makes them ideal for a variety of serving occasions.
Enjoy with Savory Pairings
For a delightful brunch, serve your pastries alongside a vibrant salad. Think peppery arugula topped with crumbled feta and a drizzle of balsamic vinaigrette. This contrast of flavors enhances the sweetness of the cherry filling.
Breakfast or Snack-Time Companion
Why not pair your rustic cherry danish pastries with a steaming cup of coffee or tea? The rich, buttery pastry complements the deep notes of a medium roast coffee, making for a cozy morning ritual. Alternatively, serve with herbal tea for a lighter afternoon treat.
Perfect for Celebratory Settings
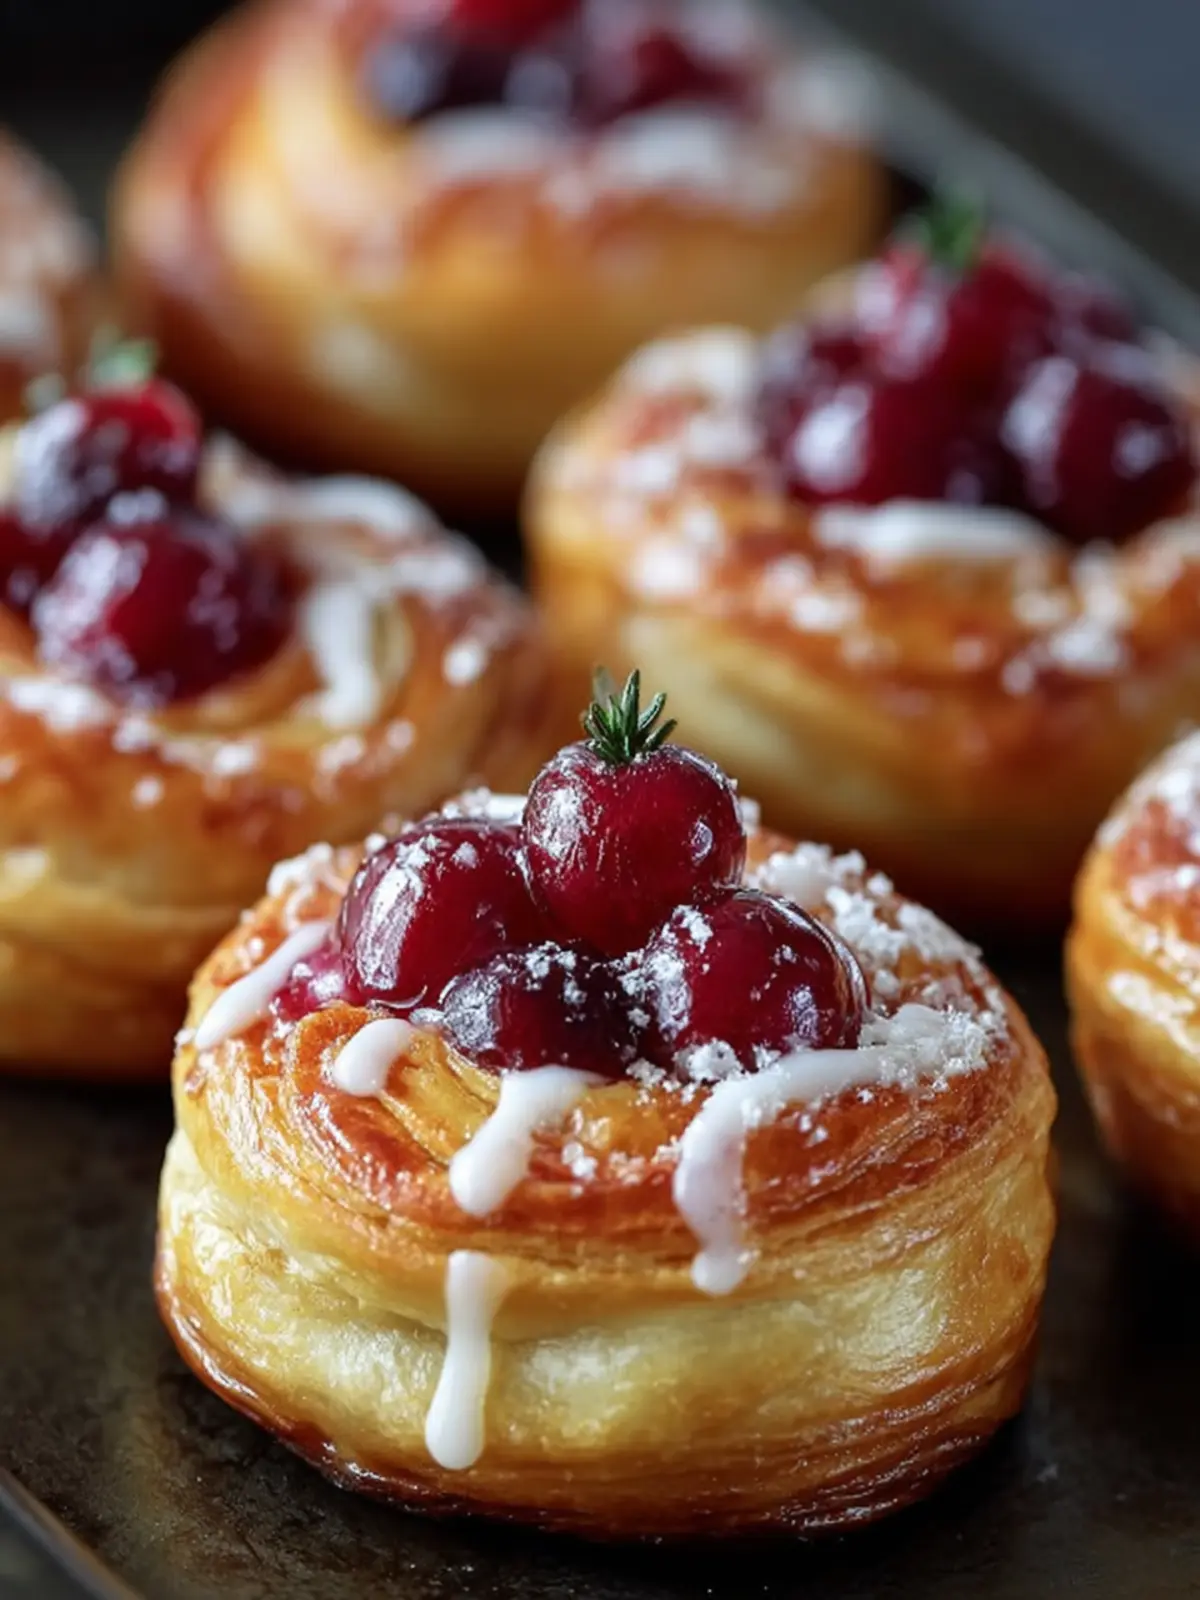
Planning a gathering? These pastries can serve as a stunning centerpiece on a dessert table. Arrange them on a beautiful platter garnished with fresh mint leaves to add a pop of color. Your guests will be instantly drawn to their rustic charm.
Conclusion
With their versatile flavors and appealing presentation, the options for serving rustic cherry danish pastries are practically endless!
Time Breakdown for Rustic Cherry Danish Pastries
Making indulgent rustic cherry Danish pastries is a delightful journey, and knowing the time commitment helps you plan your baking adventure smoothly.
Preparation Time
You’ll need about 30 minutes to prepare your ingredients, roll out the dough, and fill the pastries with that luscious cherry filling. It’s a perfect opportunity to enjoy a good podcast or catch up on your favorite playlist while you create.
Baking Time
Bake your pastries for approximately 20-25 minutes, until they turn golden brown and release a charming aroma that fills your kitchen. Believe me, this step is what really makes it feel like an occasion.
Total Time
In total, you’ll dedicate around 55 minutes to an hour to bring these delightful rustic cherry Danish pastries to life. Trust me, every minute spent will result in an irresistible treat that your friends and family will love!
Nutritional Facts for Rustic Cherry Danish Pastries
When crafting your delicious rustic cherry danish pastries, understanding the nutritional profile can help you enjoy them even more. Let’s break down the key components:
Calories
Each serving of these rustic cherry danish pastries contains approximately 250 calories. This makes them a delightful treat to savor without feeling too indulgent.
Protein
You’ll find that these pastries offer about 4 grams of protein per serving. While it’s not a primary protein source, it does contribute some essential nutrients.
Sodium
Each serving contains around 180 mg of sodium. This is relatively moderate, so you can feel good about enjoying your pastries alongside a balanced meal without excessive sodium intake.
Enjoy these pastries knowing you have a delicious treat with a thoughtful nutritional balance!
FAQs about Rustic Cherry Danish Pastries
Rustic Cherry Danish Pastries carry the charm of a quaint bakery right into your home, blending flaky pastry with a sweet and tangy cherry filling. Before diving into your baking adventure, here are some frequently asked questions to help you navigate the process seamlessly.
Can I use other fruits instead of cherries?
Absolutely! While the star of this recipe is the cherry filling, you can easily swap in other fruits depending on your preference or what’s in season. Options like blueberries, raspberries, or sliced peaches create a deliciously unique twist on the traditional Danish. Just remember to adjust the sugar based on the sweetness of your chosen fruit — some fruits may require a bit more sugar, while others, like tart berries, might need less.
How do I store leftover pastries?
If you’re lucky enough to have leftovers of your Rustic Cherry Danish Pastries, storing them properly is essential. Place them in an airtight container at room temperature for up to two days. If you want to keep them longer, refrigerating them will maintain freshness for up to a week. For optimal texture, reheat them briefly in the oven before serving — a quick warm-up will help restore their flaky beauty!
Can I make the filling ahead of time?
Yes, making the cherry filling ahead is a fantastic strategy that can save you time on baking day. Prepare your filling and let it cool completely before storing it in an airtight container in the fridge. It can last up to a week, which allows you to whip up your Rustic Cherry Danish Pastries whenever the craving strikes without the hassle of starting from scratch!
Conclusion on Rustic Cherry Danish Pastries
In wrapping up your culinary journey with rustic cherry danish pastries, it’s clear these delightful treats are more than just a dessert— they’re a slice of comfort. The flaky, buttery pastry combined with the sweet, tart cherry filling creates a perfect harmony that evokes warm memories and joyous gatherings.
Not only are these pastries delicious, but they also allow for creativity in the kitchen. Experimenting with different fruit fillings or glaze options can personalize your experience. So, roll up your sleeves, follow the recipe, and savor each bite of your homemade rustic cherry danish pastries—because nothing beats the joy of baking from scratch!
Print
Rustic Cherry Danish Pastries
- Total Time: 35 minutes
- Yield: 8 pastries 1x
- Diet: Vegetarian
Description
Enjoy your rustic cherry Danish pastries with a cup of coffee or tea for a delightful treat!
Ingredients
Scale
- 1 package (about 17.3 ounces) of frozen puff pastry, thawed
- 1 cup cherry preserves or cherry pie filling
- 1 egg
- 2 tablespoons cream cheese, softened
- 1 tablespoon granulated sugar
- 1 teaspoon vanilla extract
- Fresh rosemary or mint (optional, for garnish)
Instructions
-
Prepare the Pastry:
Preheat your oven to 400°F (200°C). Line a baking sheet with parchment paper.
Roll out the thawed puff pastry sheets on a lightly floured surface to smooth out the lines. Cut into 4×4 inch squares. -
Shape the Pastries:
Fold each corner of the pastry square towards the center to create a diamond shape. Press gently to seal. -
Make the Filling:
In a small bowl, mix the cream cheese, sugar, and vanilla extract until smooth. -
Assemble the Pastries:
Spoon about 1 teaspoon of the cream cheese mixture into the center of each pastry, followed by a tablespoon of the cherry preserves. -
Egg Wash:
Beat the egg with a tablespoon of water to make an egg wash. Brush the edges of the pastries with the egg wash to give them a golden color. -
Bake:
Place the pastries on the prepared baking sheet, spaced evenly. Bake for 15-20 minutes or until golden brown and puffy. -
Garnish:
Remove from the oven and let cool slightly. Garnish with fresh rosemary or mint if desired.
Notes
- Ensure the puff pastry is cold when you work with it to maintain its structure and texture.
- For added flavor, sprinkle a pinch of cinnamon over the cherry filling.
- If the edges unfold during baking, gently press them back immediately after they come out of the oven.
- These pastries are best enjoyed fresh but can be stored in an airtight container for up to two days.
- Prep Time: 15 minutes
- Cook Time: 20 minutes
- Category: Dessert
- Method: Baking
- Cuisine: American
Nutrition
- Serving Size: 1 pastry
- Calories: 150
- Sugar: 5g
- Sodium: 200mg
- Fat: 9g
- Saturated Fat: 5g
- Unsaturated Fat: 2g
- Trans Fat: 0g
- Carbohydrates: 15g
- Fiber: 1g
- Protein: 2g
- Cholesterol: 50mg